
A small cut or puncture can admit water into insulation well beyond the mark on the membrane, so the repair starts with a defined examination area. We identify the sheet type, measure the visible damage, check nearby seams and foot-traffic paths, and compare the roof condition with the reported interior location. Lower Mapunapuna has an industrial area, and Sand Island includes industrial facilities. Where equipment routes are present, we inspect the membrane and protection at those building-level access points. We photograph the surface before cleaning, note any displaced object or abrasion, and set an opening limit if concealed materials need confirmation. For an active leak, a crew can stabilize the roof any time of day, including a holiday, then record interim protection apart from the completed patch.
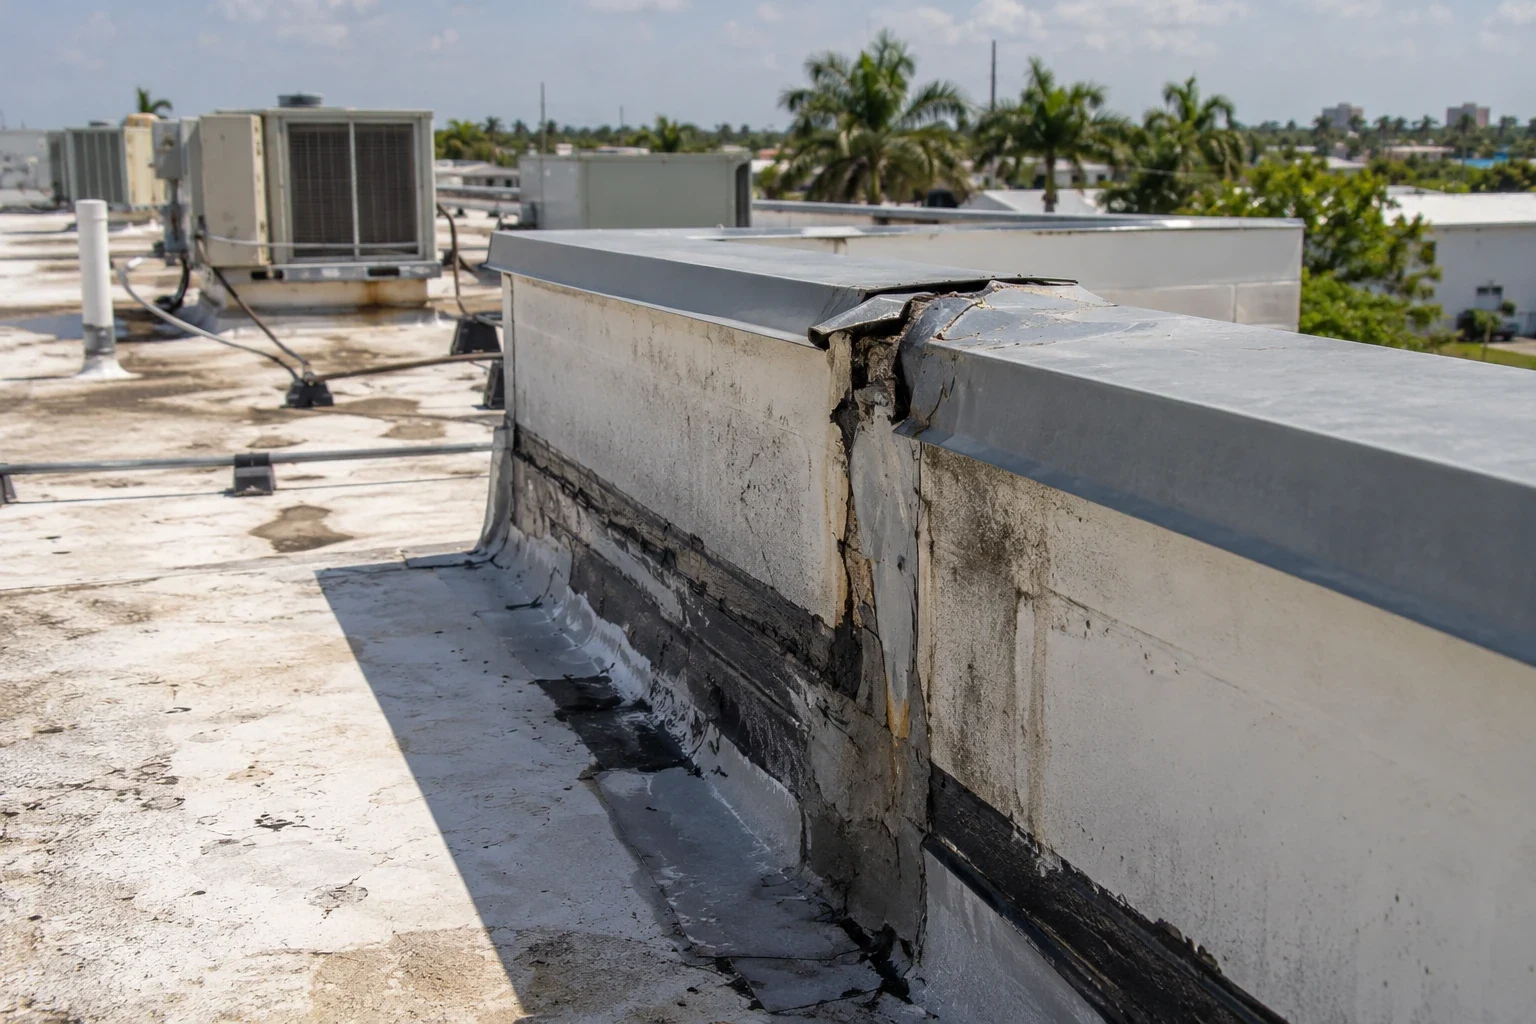
Measure the puncture and nearby traffic
We inspect the cut, puncture, or abrasion under good access conditions and look for marks that show how an object moved across the roof. A puncture beside an HVAC service path can have a different footprint from damage at a seam or curb. The inspection checks the surrounding field for scuffs, crushed insulation, loose ballast, exposed reinforcement, and water that may have migrated below the membrane. We also review the closest drain, penetration, and sheet lap so the patch does not land over a second defect. The photo record includes a scale and a wider roof view, allowing the repair location to be found later. If the damage connects to an open seam, the seam failure scope can be evaluated separately from the puncture boundary.
Confirm the concealed layer only as needed
A pinhole can be visible while the insulation below it remains dry, or the water path may extend beyond the surface opening. We use visible signs and moisture mapping to decide whether a selective opening will answer a specific question. Before removal, the owner receives the test location, maximum size, temporary protection method, and condition that would require additional work. We photograph the exposed membrane, insulation, cover board, and deck where each layer is reached, then identify what is confirmed. If the substrate is sound and the wet area is limited, the repair may stay small. If moisture or a soft deck extends beyond the agreed boundary, the opening is secured while a revised scope is reviewed. A condition record keeps those findings tied to the exact roof zone.
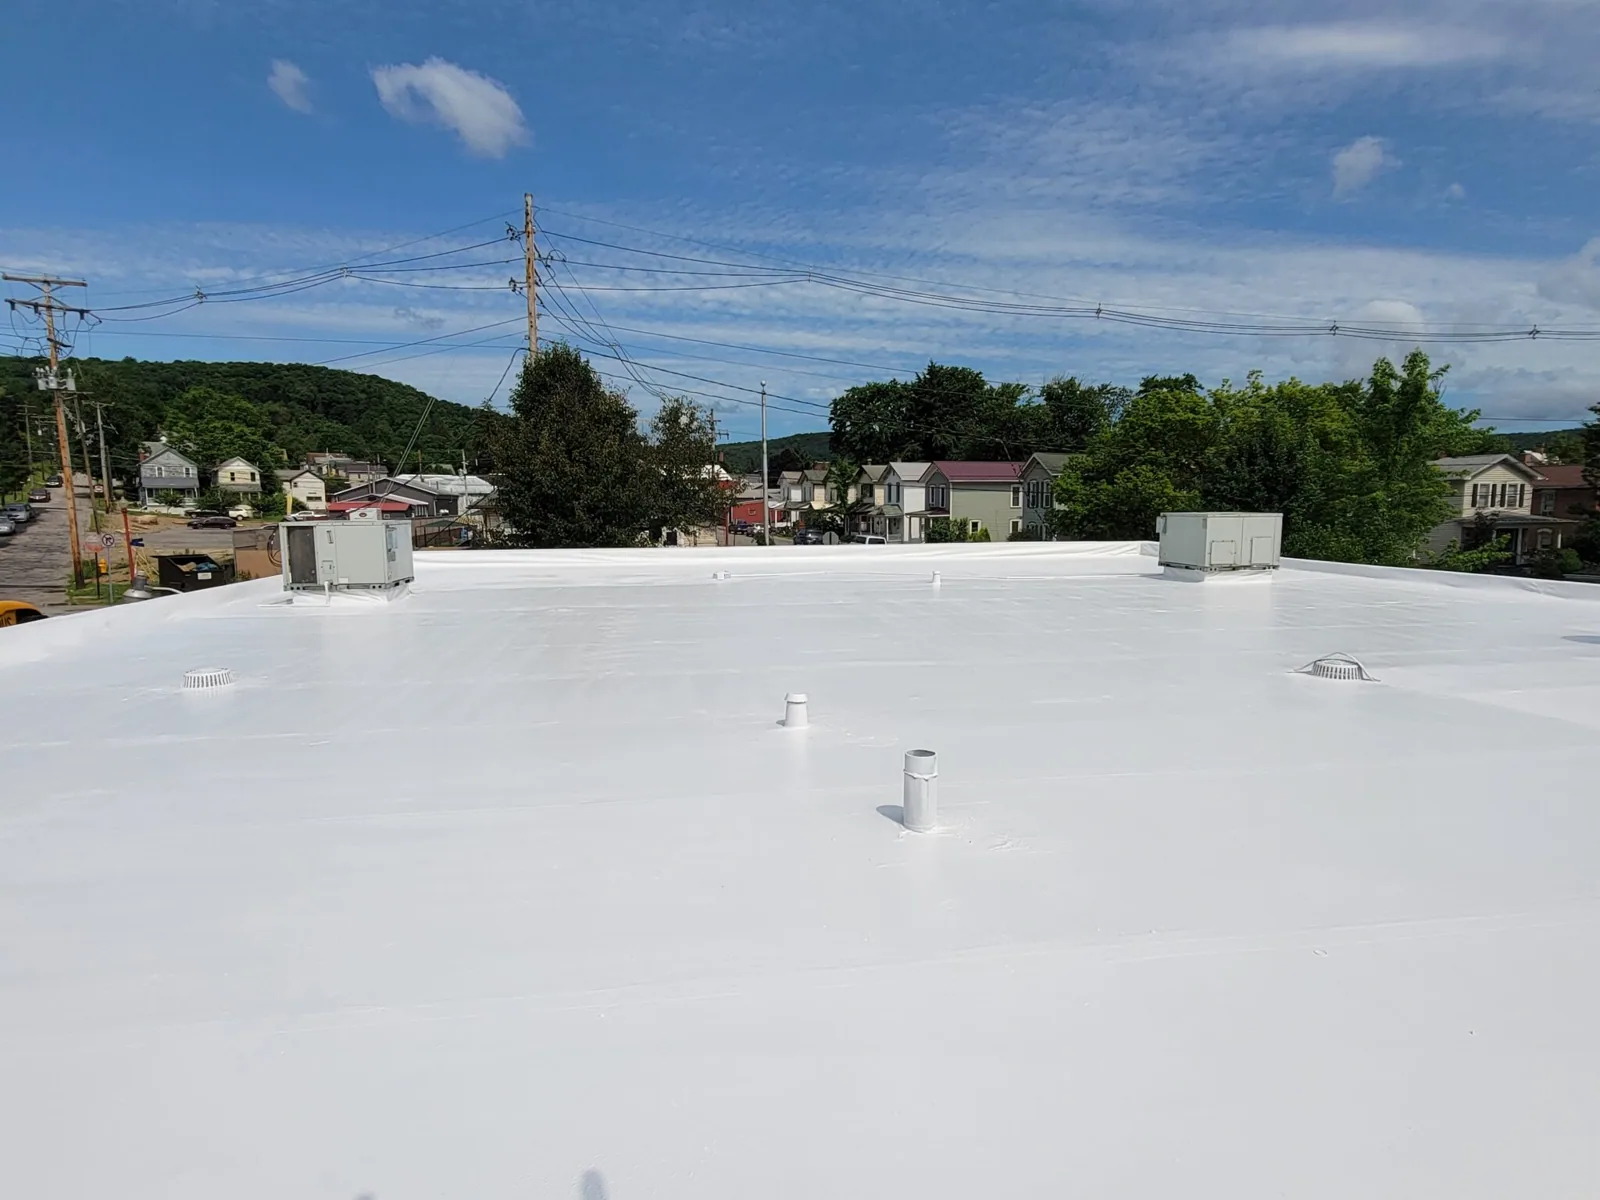
Use a patch that suits the roof sheet
A patch needs enough sound membrane around the damage to form a secure bond or weld. We identify whether the roof uses TPO, PVC, EPDM, modified bitumen, or another system, then prepare the surface and select a compatible repair method. A thermoplastic patch may be welded after the surface is cleaned and checked; an EPDM detail uses a different preparation and accessory. The scope states patch size, reinforcement, seam overlap, and tie-in so a future inspection can compare the finished work with the opening. If the sheet has aged or the area has several old patches, we examine the receiving surface before adding another layer. The EPDM repair uses membrane-specific preparation, while a TPO patch is heat-welded after the receiving sheet is cleaned and checked. We record the selected tie-in for later inspection.
Correct the route that caused contact
A patch can stop an opening, but repeated punctures may return if a service route still crosses exposed membrane. We identify the path used by maintenance personnel, tools, carts, and equipment access, then note where protection boards or a marked walkway could reduce contact. That recommendation is limited to the roof area inspected and does not imply that all traffic caused the damage. The property representative identifies which roof units require recurring access; we mark those service paths and assess protection at the equipment locations inspected. We record the route and the installed protection separately from the membrane patch so later staff can maintain both. Where wind exposure or loose material contributed to the damage, wind-related roof checks may be included in a separate inspection scope.
A walkway layout should connect the hatch to equipment and service points without crossing drains or leaving loose board edges. We note where technicians turn, set tools, and pass around rooftop units, because those contact points can differ from the straight route shown on a drawing. The site contact can confirm which access points are used after hours or by separate vendors. The resulting plan distinguishes a proposed protection path from an installed product, and identifies who will maintain it after the roof repair is accepted. A clear route makes the patched area easier to avoid on the next equipment visit.
Keep the repair protected through closure
Trade winds persist across Hawaii, and heavier rain generally falls during winter storms between October and April. A puncture repair needs a clean surface and a work window that allows the patch or weld to be completed before the roof is left. We set the exposure limit, keep temporary protection ready, and check the finished tie-in at the end of the shift. If rain or a wet surface interrupts preparation, the crew secures the area and records what remains. A temporary cover is marked as temporary so it is not confused with a permanent patch at the next visit. The property contact receives the roof-zone label and closure photo, giving operations staff a way to verify the area without reopening it.
Make the repair visible after it is covered
When the membrane is closed, the original puncture may no longer be apparent. We provide before, during, and after photographs, identify patch materials, and mark the repaired location on the roof plan. The file notes whether concealed insulation was inspected and whether any follow-up remains. For a building near Mapunapuna, equipment paths and roof access can be recorded with the repair location for future service visits. A maintenance inspection can then check the patch edge, nearby seam, and traffic protection at the same marked point. If a manager controls several properties, each file remains building-specific; a repeated puncture pattern should be established by inspection rather than assumed from a single damaged sheet.
If a patch is close to a curb or drain, the marked plan shows the distance and the adjoining detail that was inspected. This helps a future technician place a ladder or tool without resting it on the repaired membrane.
Commercial Roofing Questions
Does a small puncture require an opening below the membrane?
Not always. We assess the surface, nearby conditions, and moisture evidence first. A selective opening is scoped when it will confirm a concealed layer or define how far the water path extends.
How do you choose the patch material?
We identify the existing roof sheet and prepare the receiving surface for a compatible repair. The written scope names the patch method and tie-in so the work can be checked later.
Can repeated foot traffic damage be prevented?
A roof inspection can identify service paths and contact points. We can document where walkway or protection-board planning may reduce exposure, separately from the membrane repair itself.
What if the puncture has wet insulation beneath it?
We stop at the agreed removal limit, document the exposed condition, and secure the roof. Added removal or deck work is presented for authorization with a new boundary.
What belongs in the puncture repair handover?
The file includes a roof-zone location, before and after photos, patch materials, closure status, and any concealed layer inspected. A separate note identifies follow-up only when the condition supports it.
Repair the puncture with a clear limit
Arrange a commercial roof inspection in Honolulu, HI. We will identify the membrane, trace any concealed moisture, and document the patch and closure details.
Tell Us About Your Roof
We will follow up to set up a time to walk the roof.

Request a Roof Assessment
Tell us about the building and what you are seeing. We will follow up to set up a time to walk the roof.